Quick Tips on Setting up a General Purpose Carbine
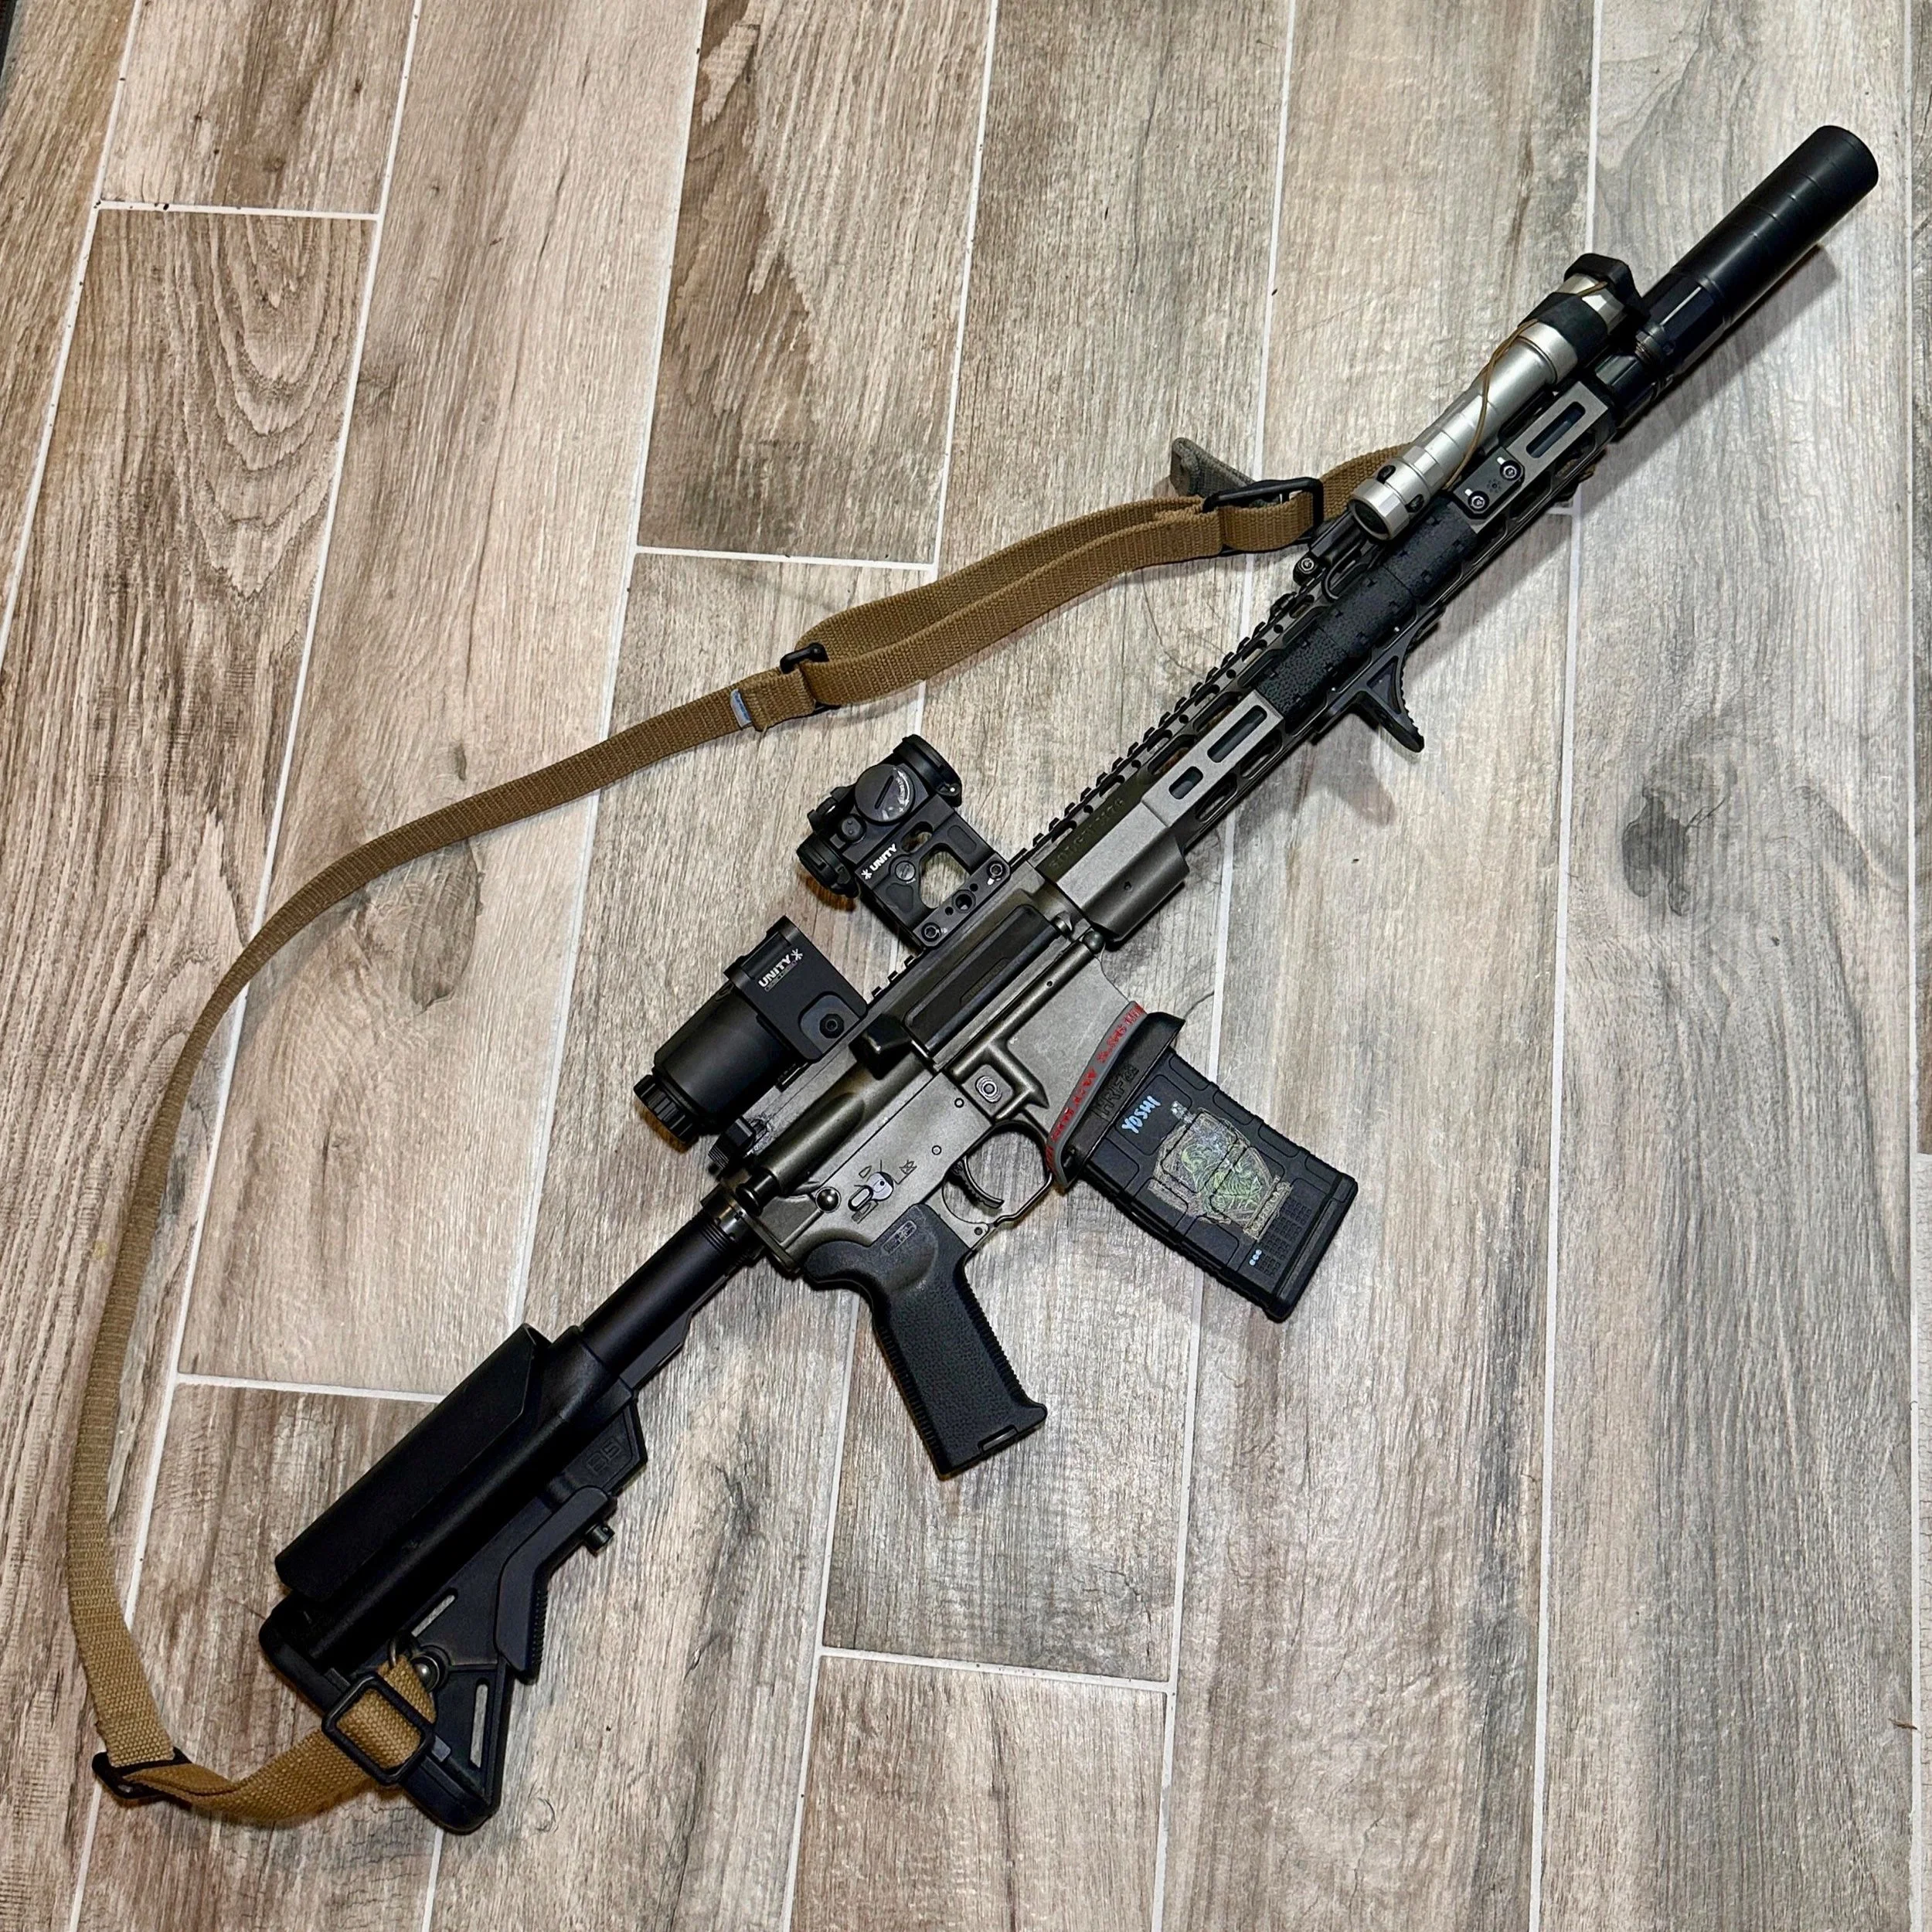
At times, students will come to class with incorrectly set up rifles and carbines, and it can hinder their ability to learn in class. Let's talk about some basic tenets of carbine setups
1. Length of Pull (LOP): the LOP can be defined as the distance between the back of the rifle's butt stock where it touches your shoulder and the trigger. One quick way to measure a correct LOP is to put the buttstock in the crook of your elbow and then get a proper grip on the carbines pistol grip. You should have a comfortable grip with your thumb on the safety selector, and your last knuckle of your index finger on the trigger. Adjust your buttstock until you find this position. I find it helpful to then mark my buffer tube at that position so I can easily move back to the same position if I ever move it. Some people run their buttstocks collapsed in, which is fine if you plan on wearing some type of heavy clothing or plate carriers/kit, but it's not optimal for shooting under normal conditions.
2. Support hand placement: Now that your LOP is correct, mount the gun to your shoulder and bring your support hand up naturally to the front of the rifle. It should be a natural position, with your elbow somewhere between completely bent and fully locked out. You don't want to lock out your elbows, nor do you want your hand to be back at the receiver. I like to wrap my thumb over the top of the forend rail and point my index finger at the target. Once you have identified this natural position, now you can start adding your handstops, heatguards, weapon lights, lasers and switches. Anything you need to reach without moving your hands from this natural shooting position.
3. Optics: If you have a holographic sight like an EOTECH or a red dot optic like an Aimpoint, you can place it anywhere you like on the top of the receiver. However if you have a scope, magnifier or a prism optic, you need to take eye-relief into account and place it where you have the best available sight picture when you mount the gun. This is why you set up LOP and support hand placement first. Take a good shooting stance and mount the gun. Now you can place your magnifier, scope or prism optic closer to the charging handle, or wherever your eye naturally lands when you get a good cheek-weld to the buttstock. In a proper shooting stance, you should try to bring your nose closer to the charging handle in general. You will know you have found good eye relief when you have the minimal amount of scope shadow around the sight picture. This will take some trial and error. Also keep in mind that alternate shooting positions will change the location of your eye somewhat, especially prone.
4. Sling: Your sling needs to work FOR you, not against you. I am going to quote Chris Sizelove (great dude, currently director of training at Blue Force Gear i think), and tell you the 4 things slings need to do.
Make the weapon safe when your hands are off of it.
Create stability
Have quick detach (QD) front and rear
Be able to hit all positions and flow
The primary job of the sling is to secure it when you aren't holding it. The muzzle needs to be controlled, in whatever position you carry it. A sling can also be used as a 5th point of contact to create more stability, especially in braced, kneeling and seated positions. QD points are important because they make taking the gun away from a casualty MUCH simpler. Administratively, it's also nice to be able to move slings between guns sometimes. Last, slings should provide these benefits without hindering your movement, from shooting, reloading, manipulating the rifle and changing shooting positions, the sling needs to work for you, not against you. There are often multiple sling mounts locations available to you on common rifles and carbines. We recommend 2-point slings with QD mounts near the muzzle on the support hand side and on the buttstock on the opposite side, however there are alternate sling mount positions that work.

